How to Open an SMBC Trust Bank Account Online: A Step-by-step Guide
Instructions Share
Share
Have you thought about opening a trust bank account with SMBC, but you’re not quite sure how to apply for it? Smiles has put together a detailed step-by-step guide to show you how you can complete the process mainly with your smartphone.
Guide on how to open an account with SMBC Trust Bank online
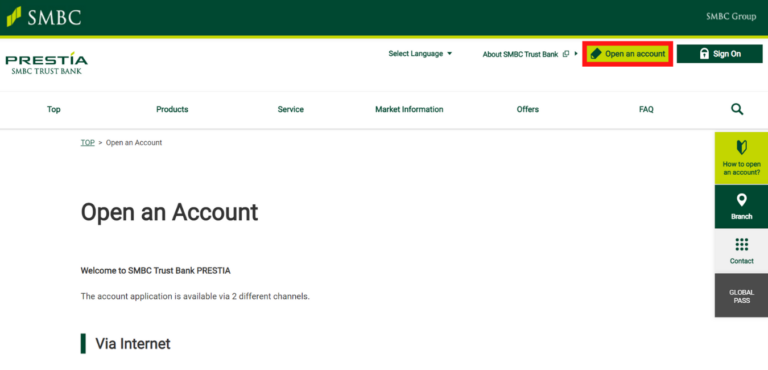
1. Visit the SMBC Trust Bank account-opening web page.
2. Click on the “Open an account” button at the top of the web page.
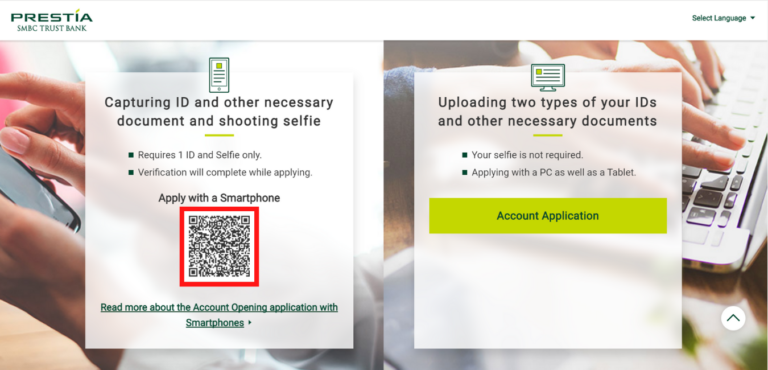
3. When you land on the account-opening page, scroll down to the section where you find two registration methods and scan the QR code with your smartphone camera.
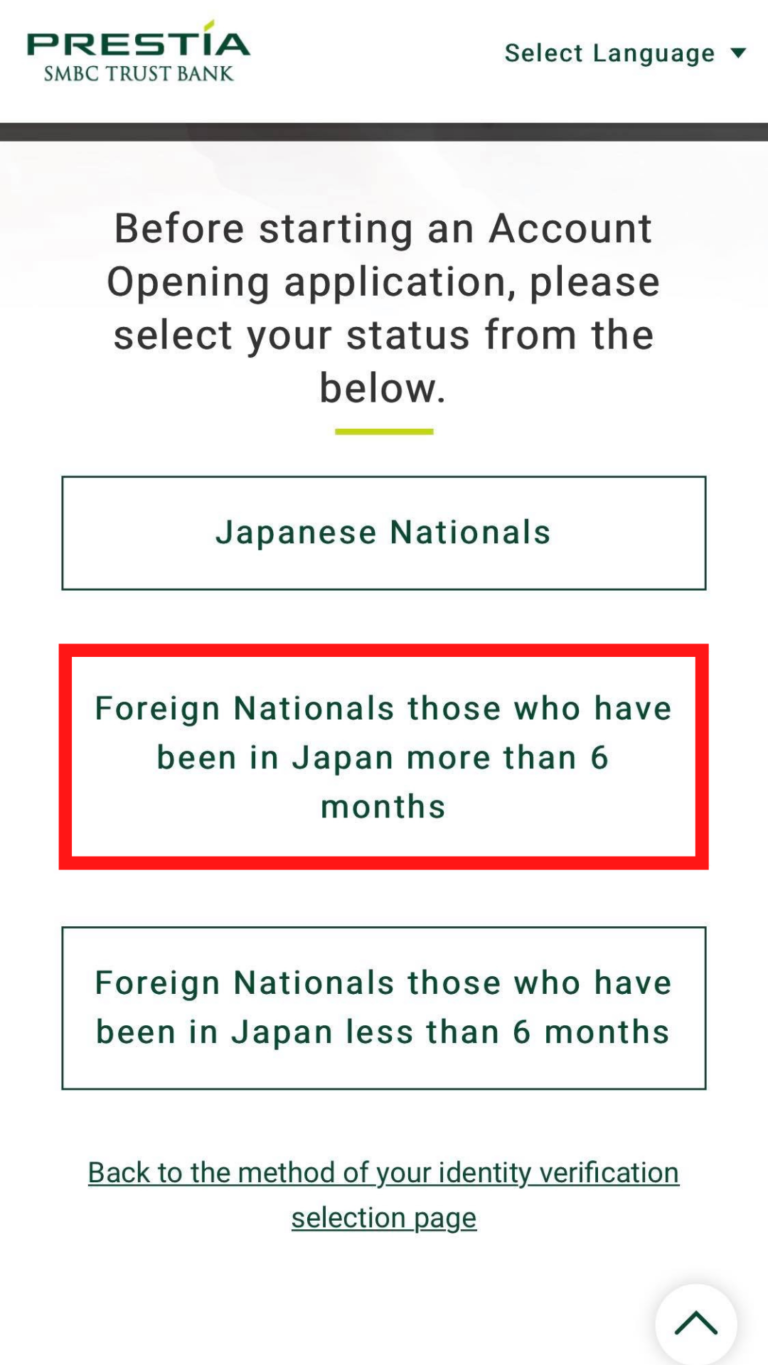
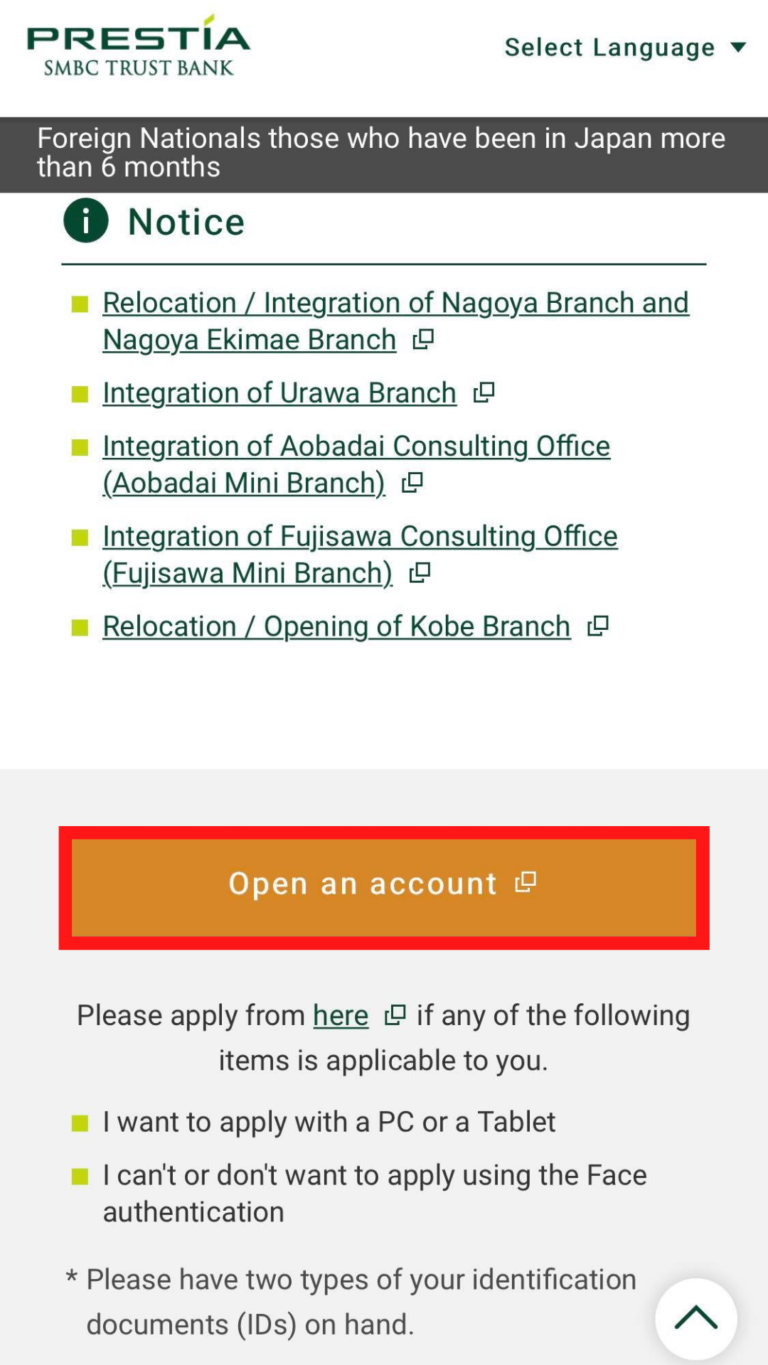
4. When you land on the website on your smartphone, slightly scroll down to the section like what we have displayed below and choose your current status. We will choose “Foreign Nationals who have been in Japan more than 6 months.”
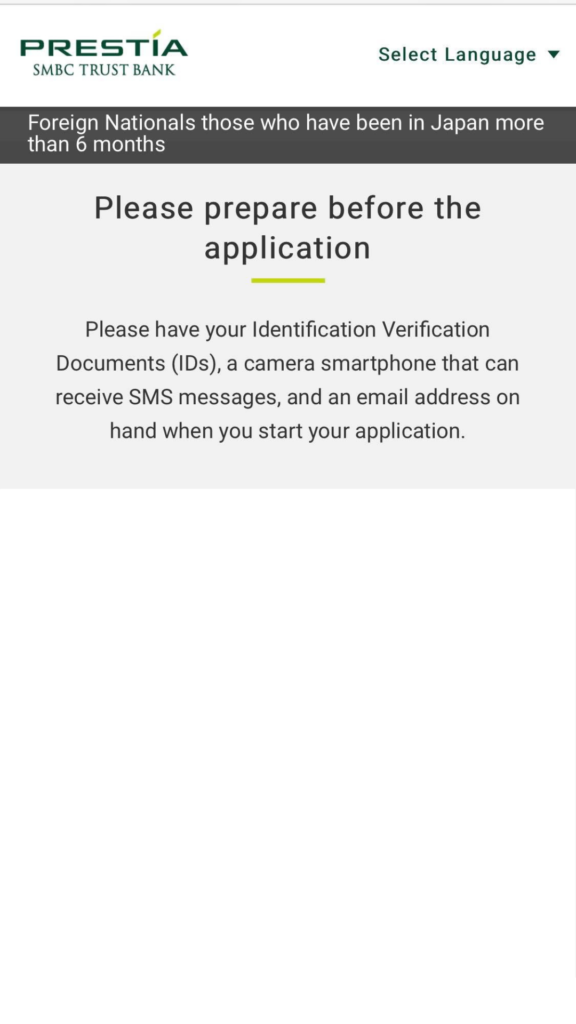
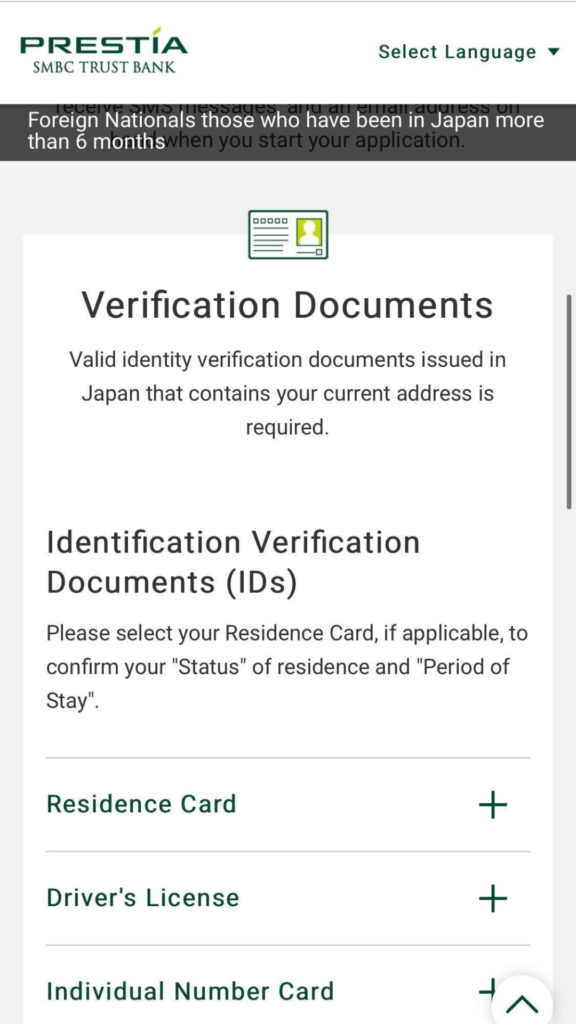
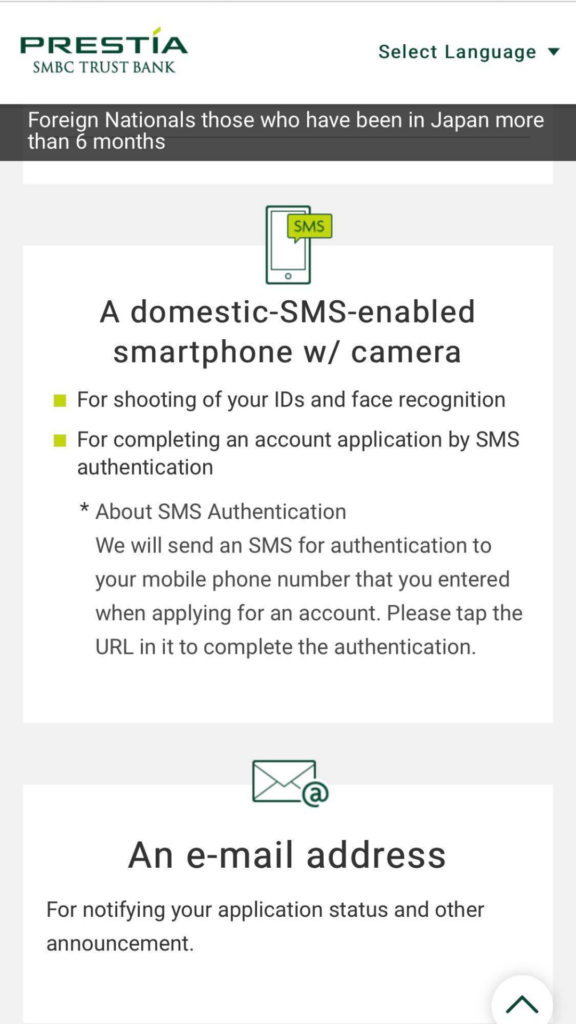
5. You will land on a few sections where they’ll remind you to prepare certain documents and other materials before you start the application process.
6. Scroll down an tap on the “Open an account” button.
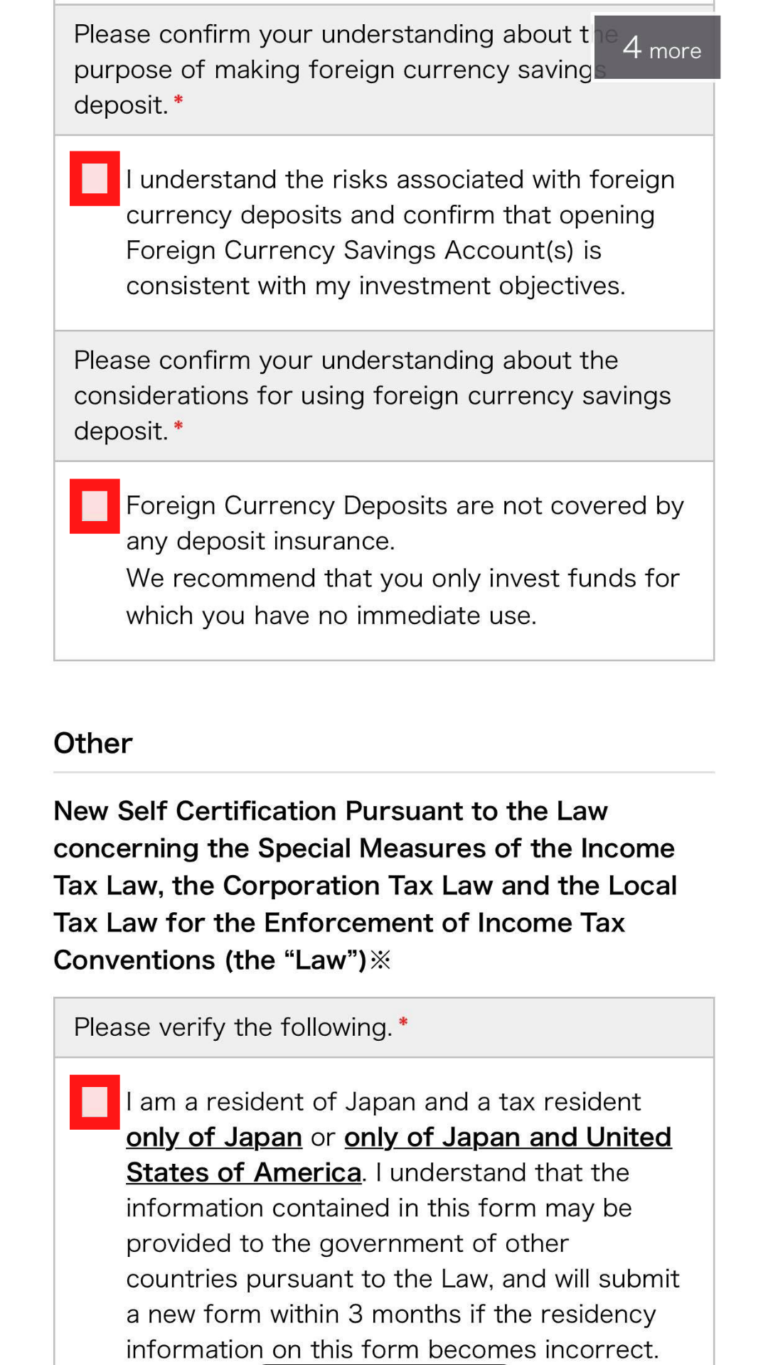
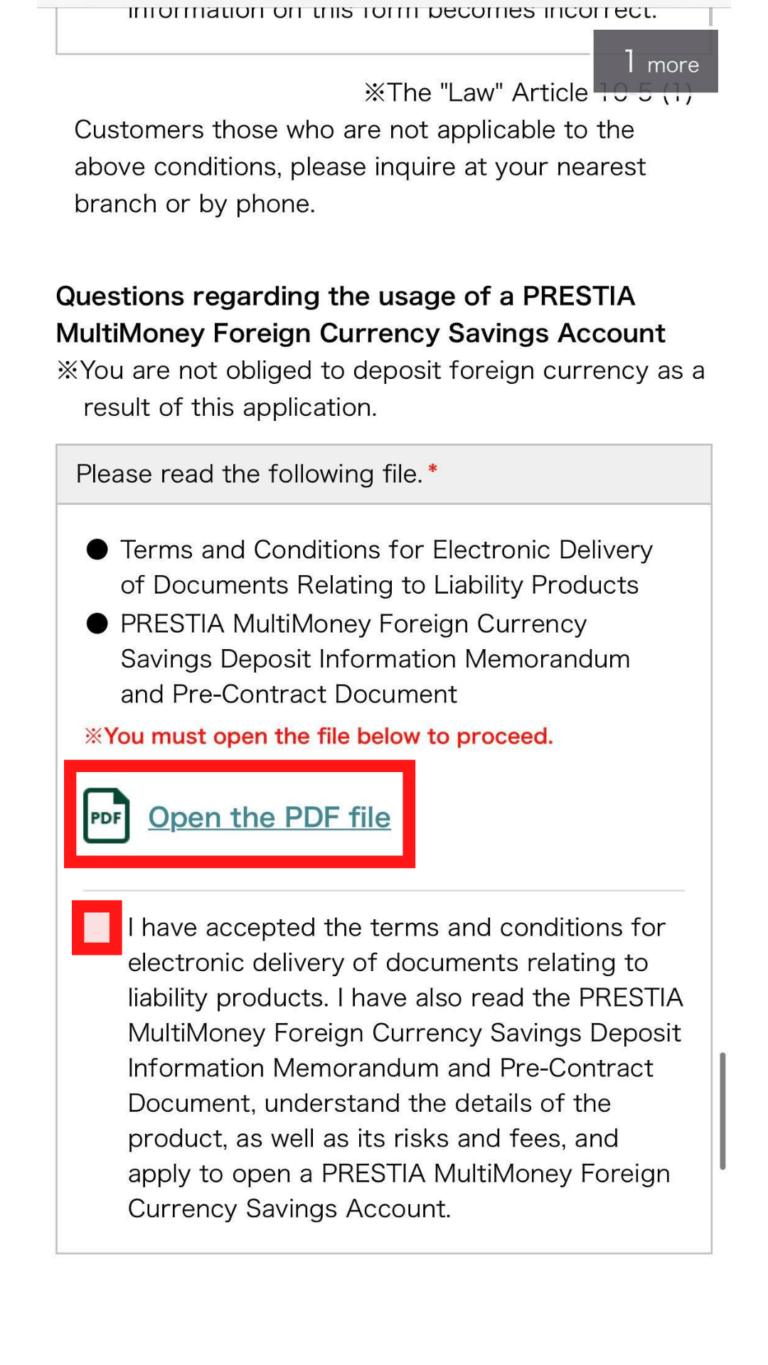
7. Read the details for available accounts and services, application requirements and other information. Remember to read the PDF under the red phrase, “Opening PDF file is required to proceed.”

8. Go back to the previous page and read the rest of the information.
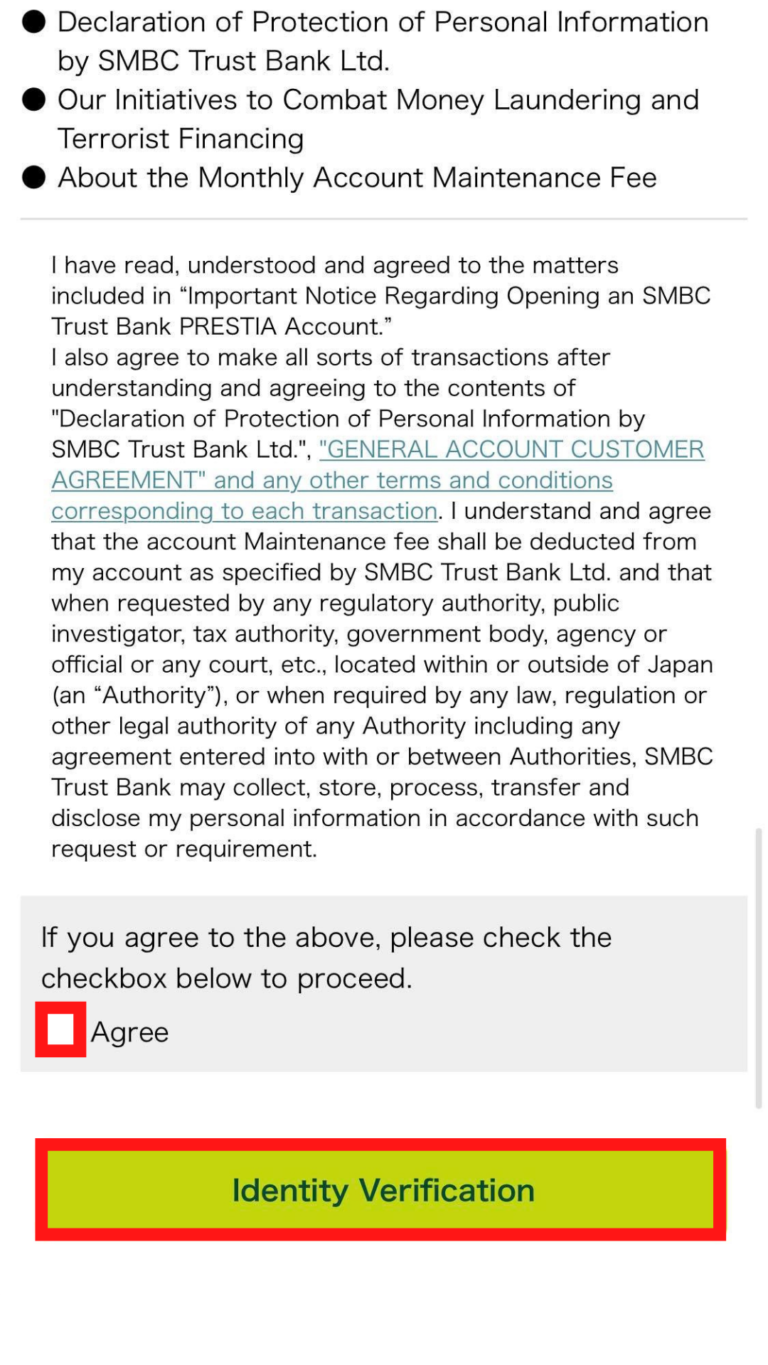
9. Check the box to agree to the terms and conditions and tap on the “Identity Verification” button.
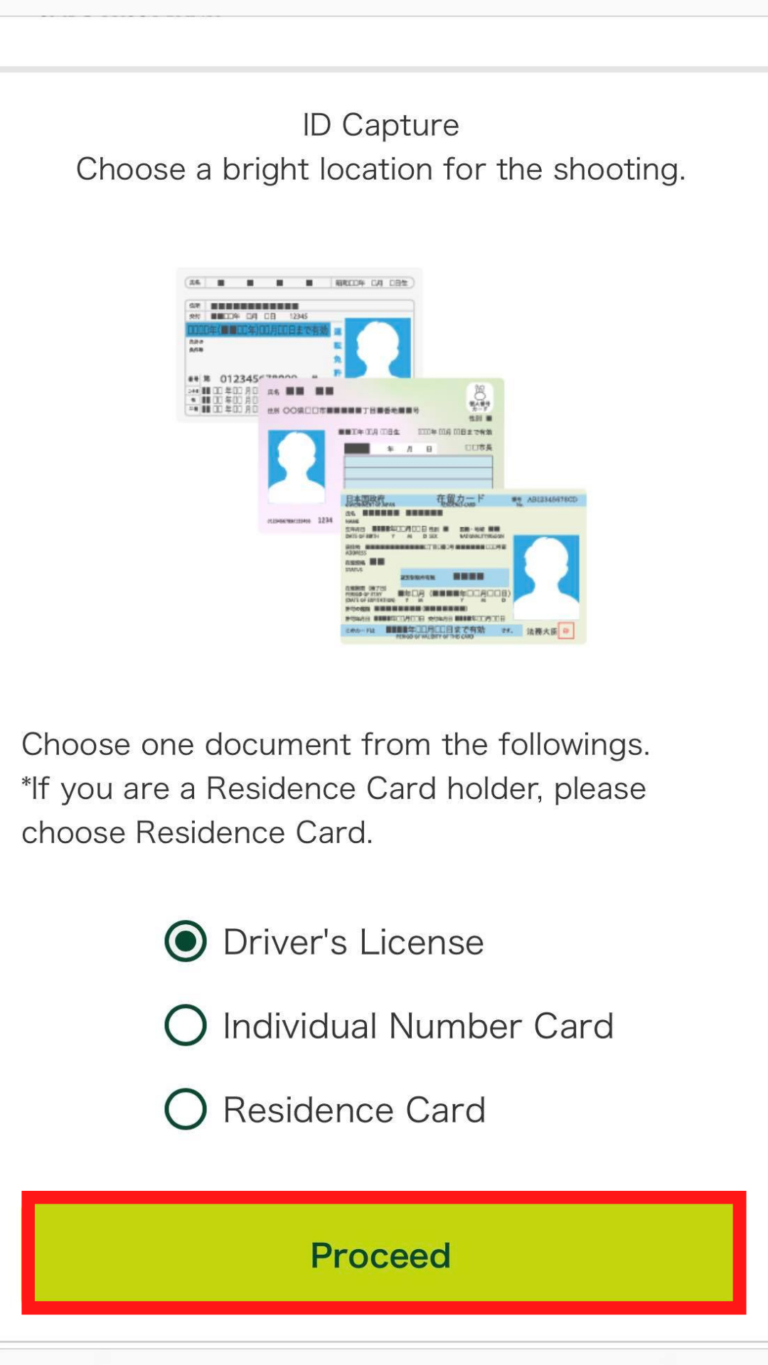
10. Choose one of the ID’s (we will choose “Residence Card” for this guide) that you will use for the verification process and tap on “Proceed”.
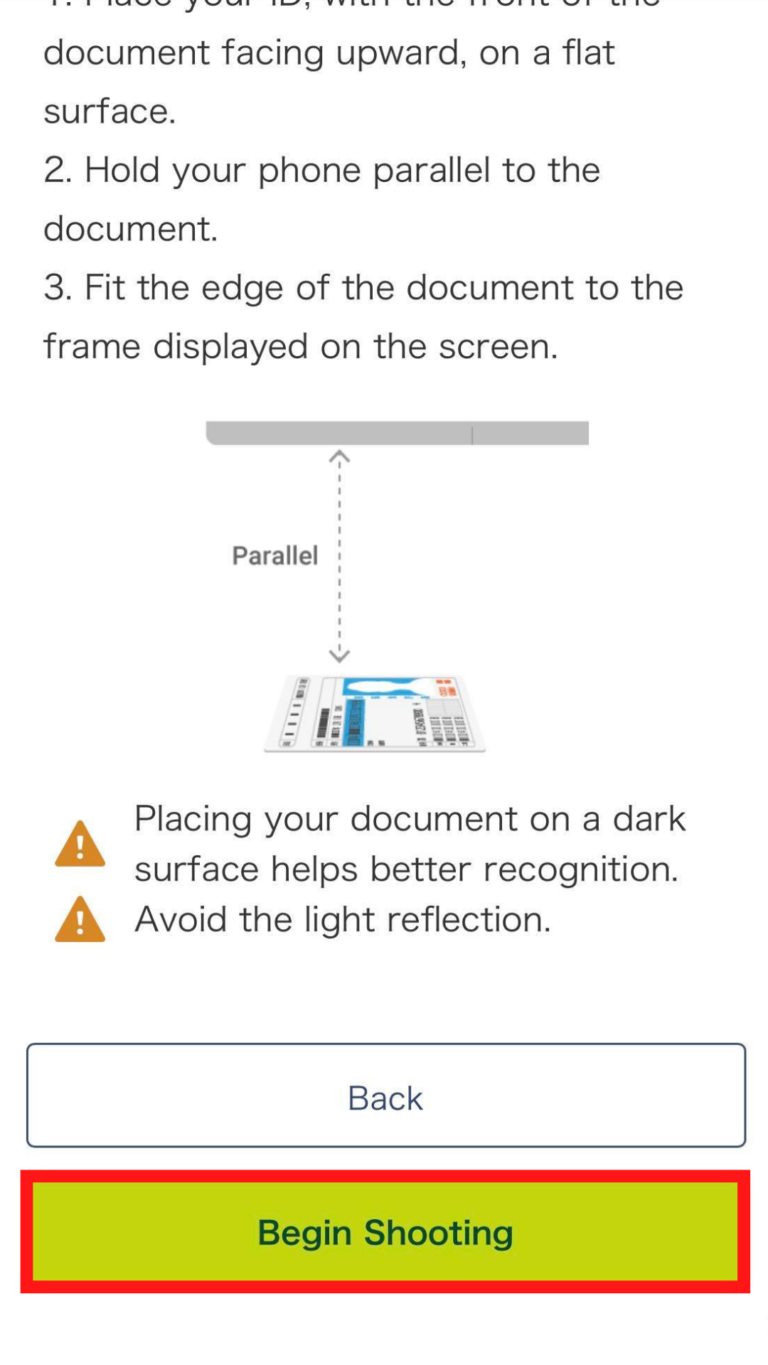
11. Take a look at the requirements for taking a photo of the front of your ID properly and tap on the “Proceed” button.

12. Read more details on how to take a photo of your ID and tap on the “Begin Shooting” button.
13. Take a photo of the front of your ID and tap on the “Proceed” button.
14. Take a look at the requirements for taking a photo of your ID at an angle and tap on the “Begin Shooting” button.
15. Take a photo of your ID and tap on the “Proceed” button.
16. Take a look at the requirements for taking a photo of the back of your ID and tap on the “Begin Shooting” button.
17. Take a photo of the back of your ID and tap on the “Proceed” button.
18. Take a look at the requirements for taking a photo of your face and tap on the “Begin Shooting” button.
19. After you take your photo, you will be instructed on how to bring the camera towards your face for the face recognition feature. Tap on the “Proceed” button once you’re ready.
20. Follow the instructions on the screen when they ask you to move the camera towards your face.
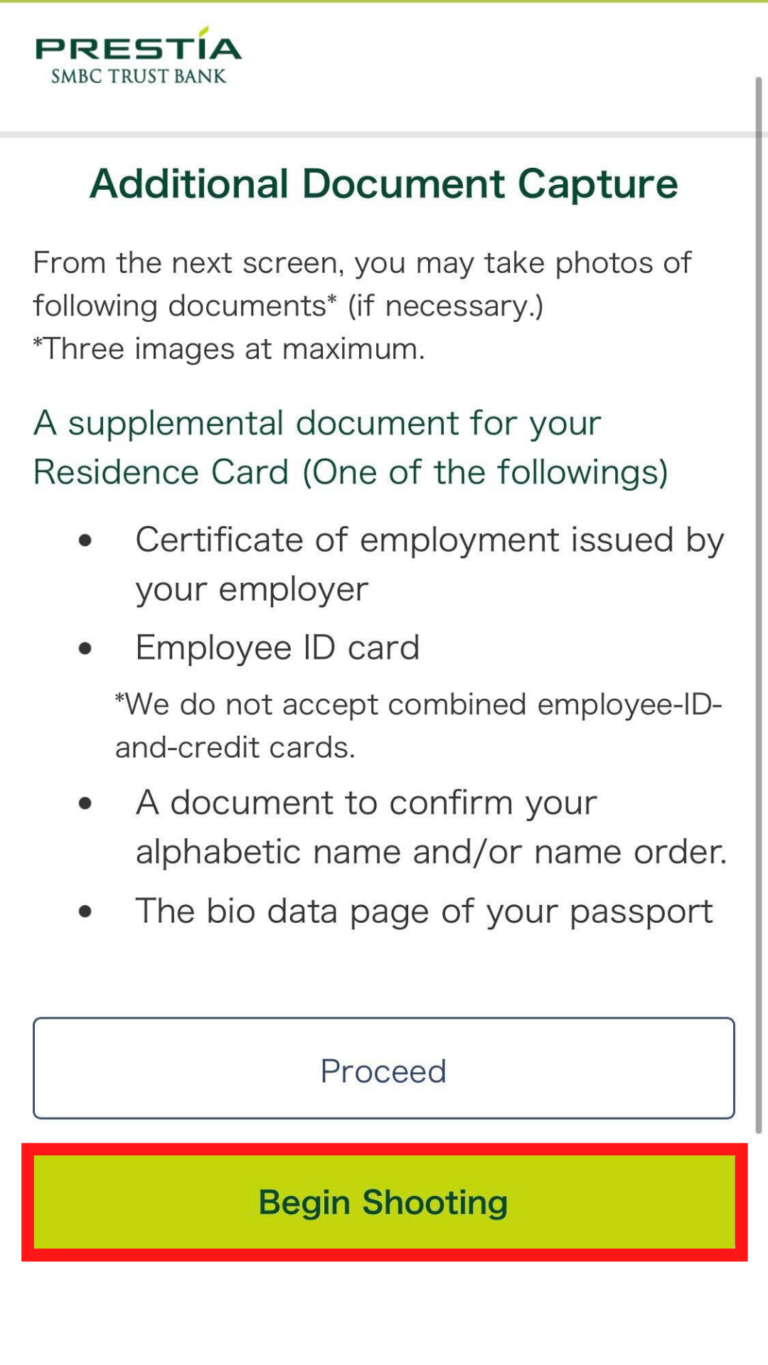
21. Read the information provided for additional document capturing and tap on the “Begin Shooting” button.
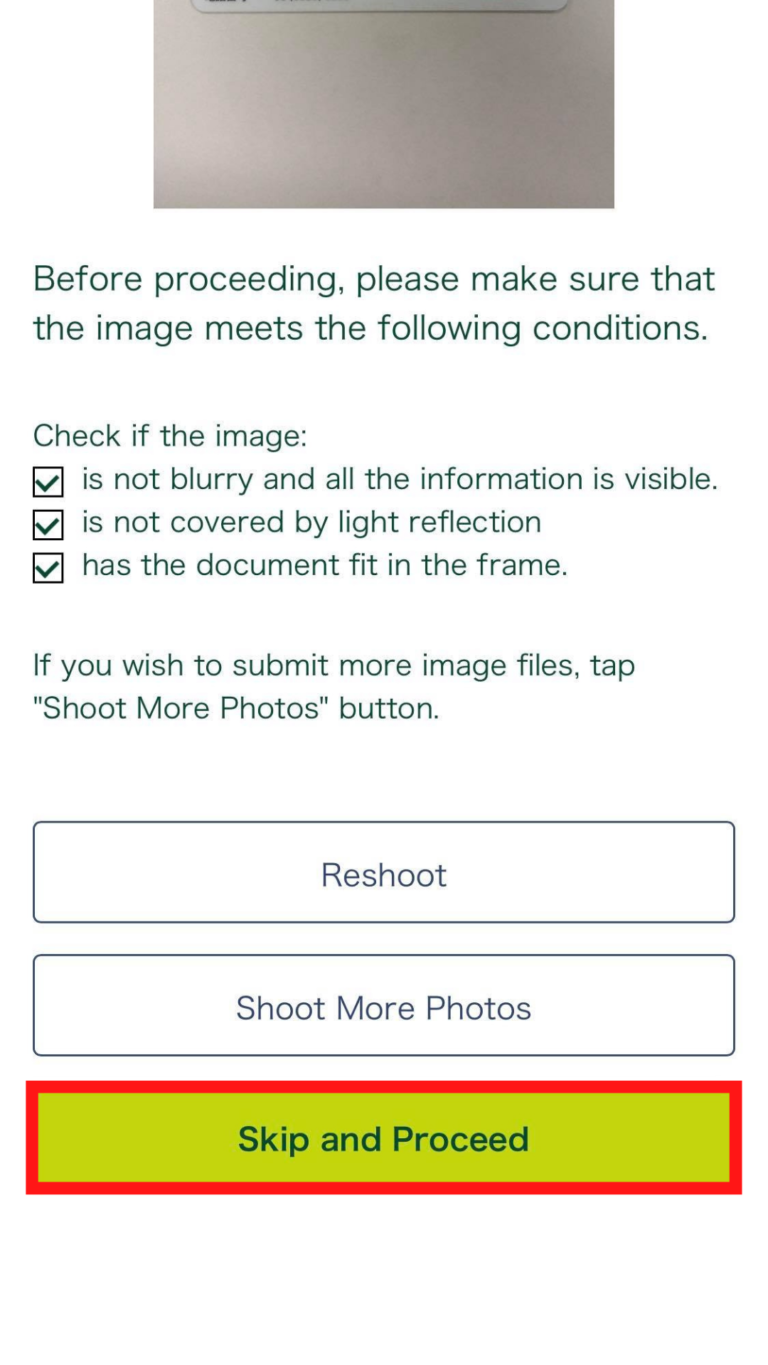
22. If the photo of your additional document meets the requirements, you can either tap on “Shoot More Photos” if you want to submit more images or the “Skip and Proceed” button to continue on to the process.
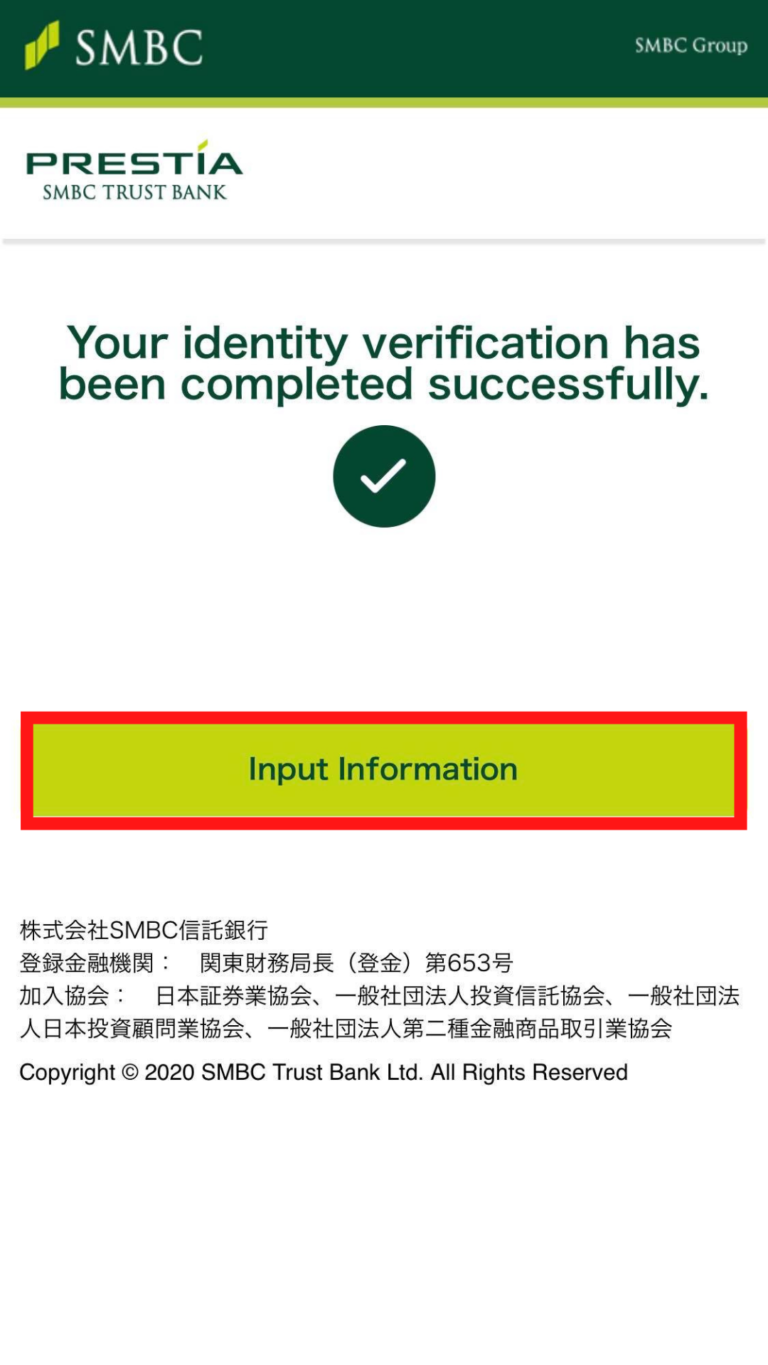
23. Once the verification process is complete, tap on the “Input information” button.
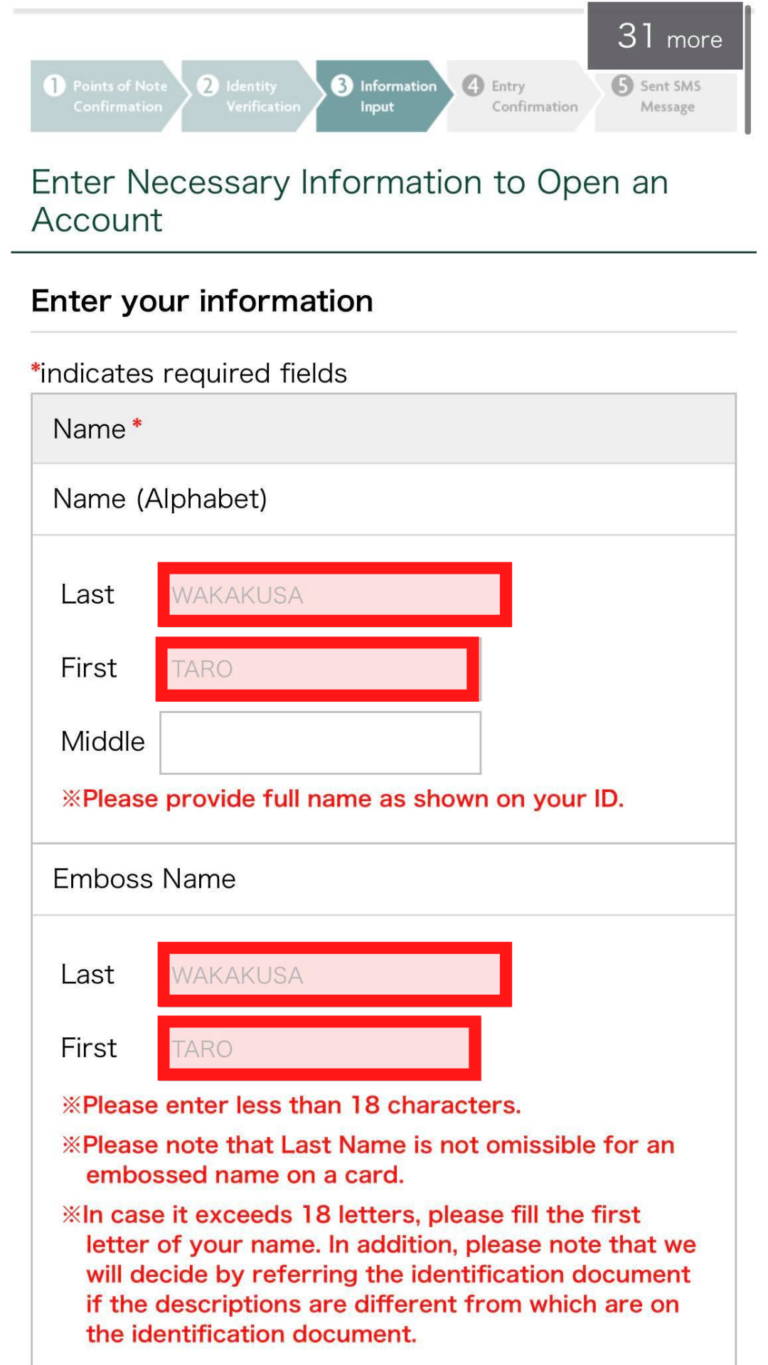
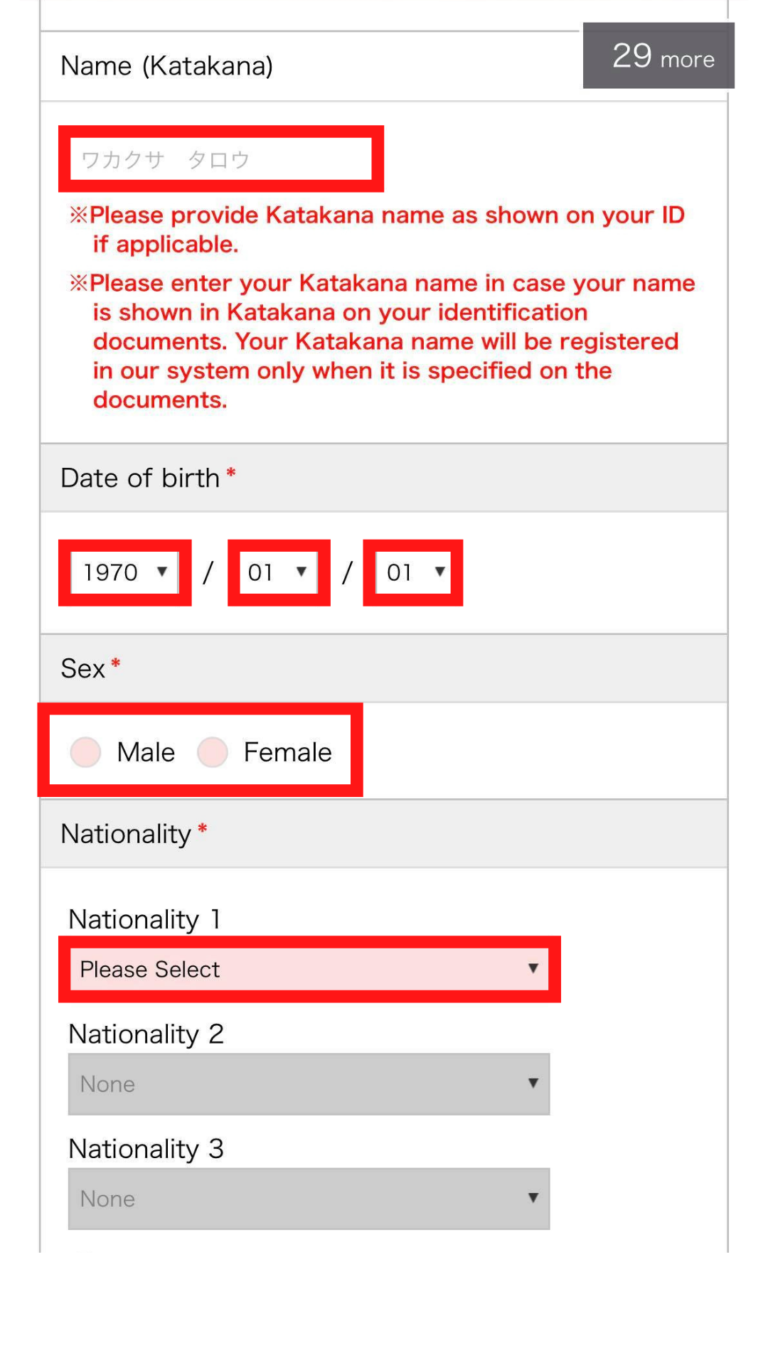
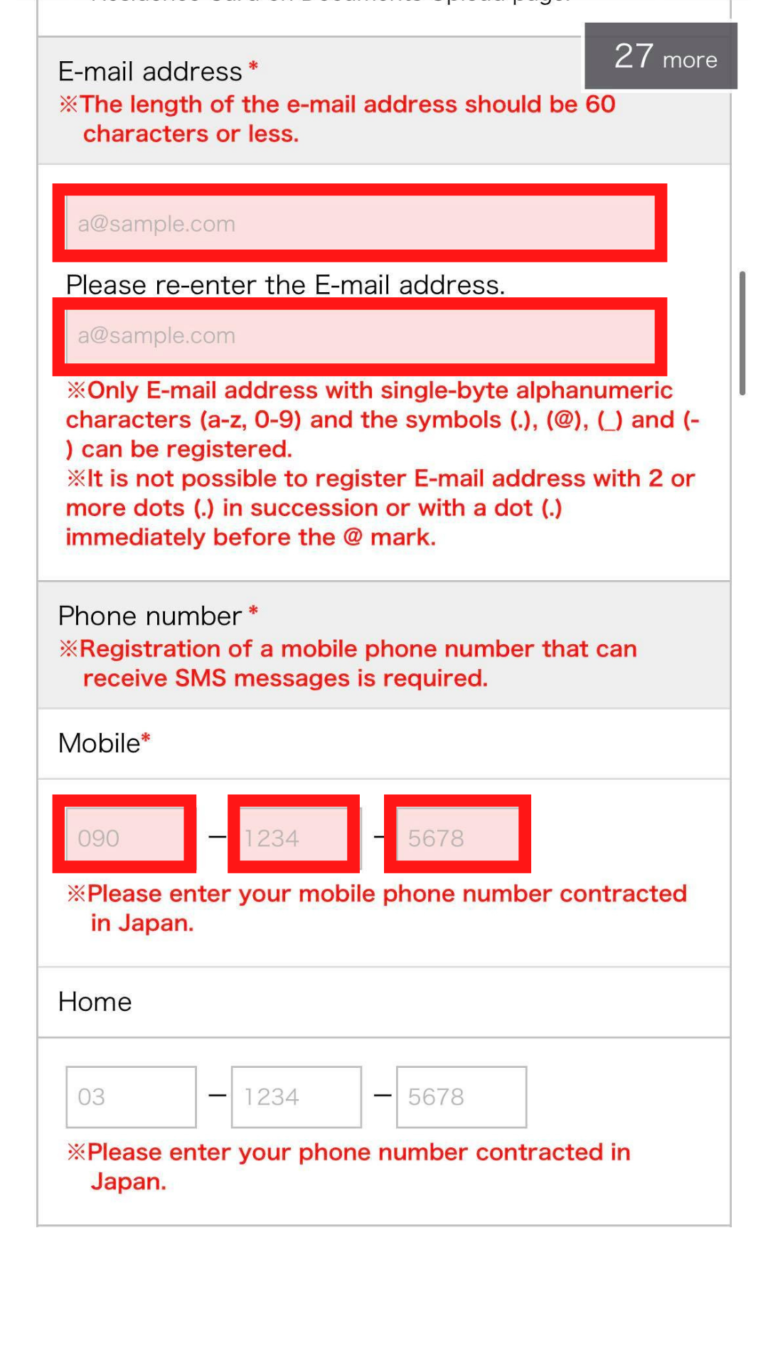
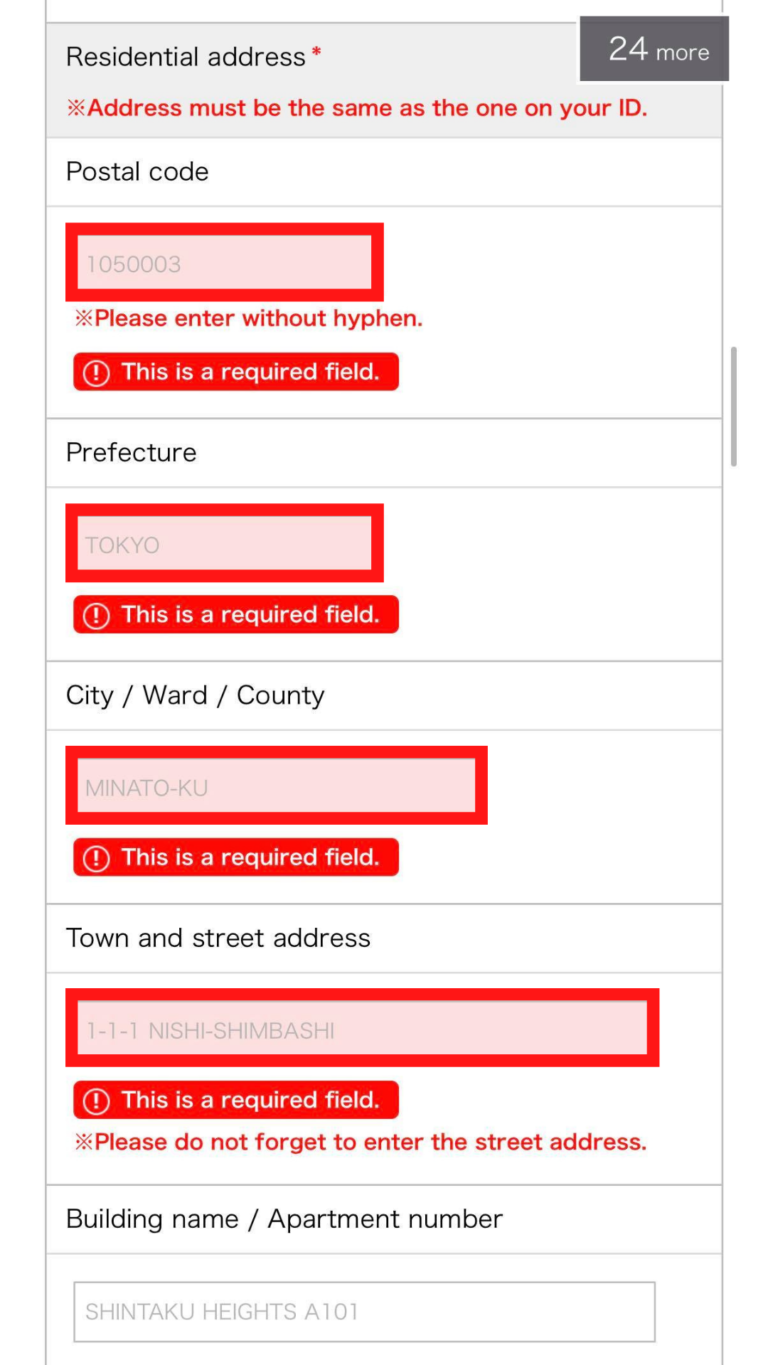
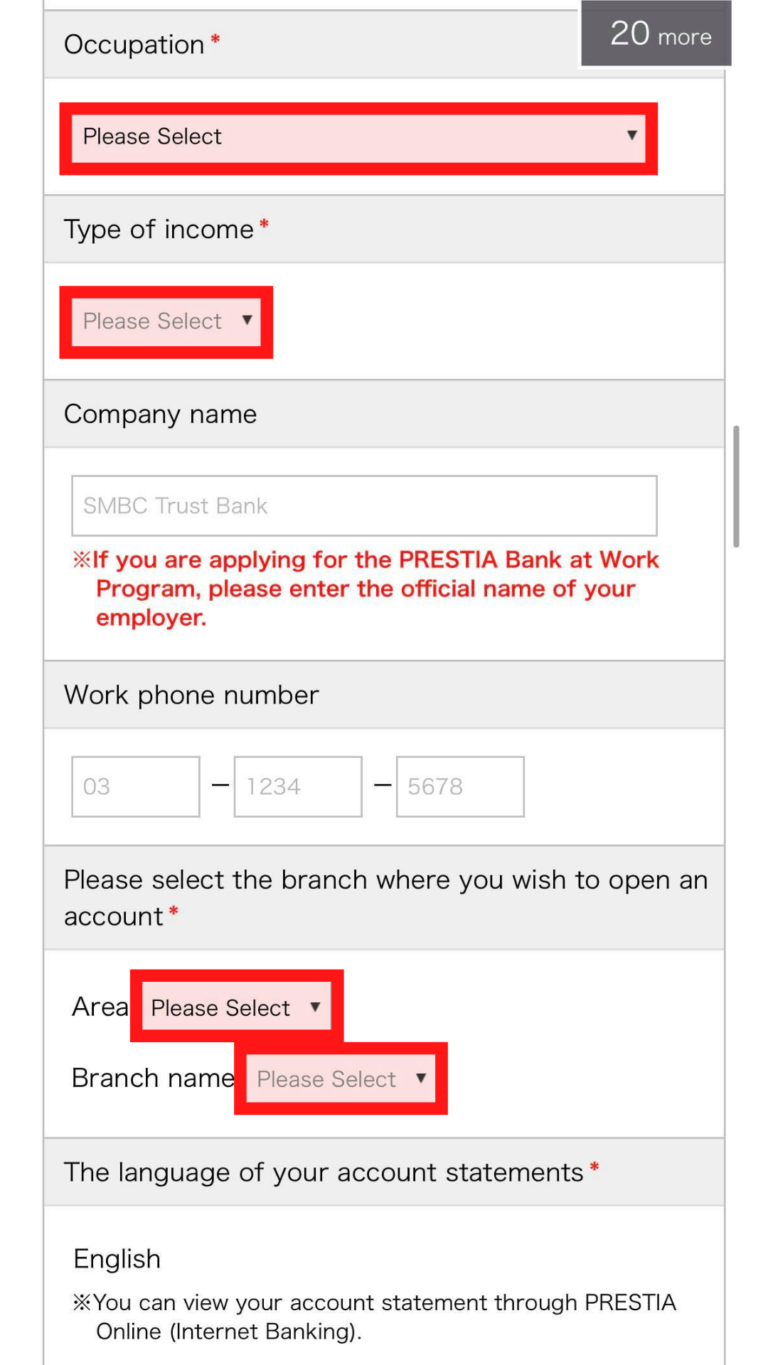
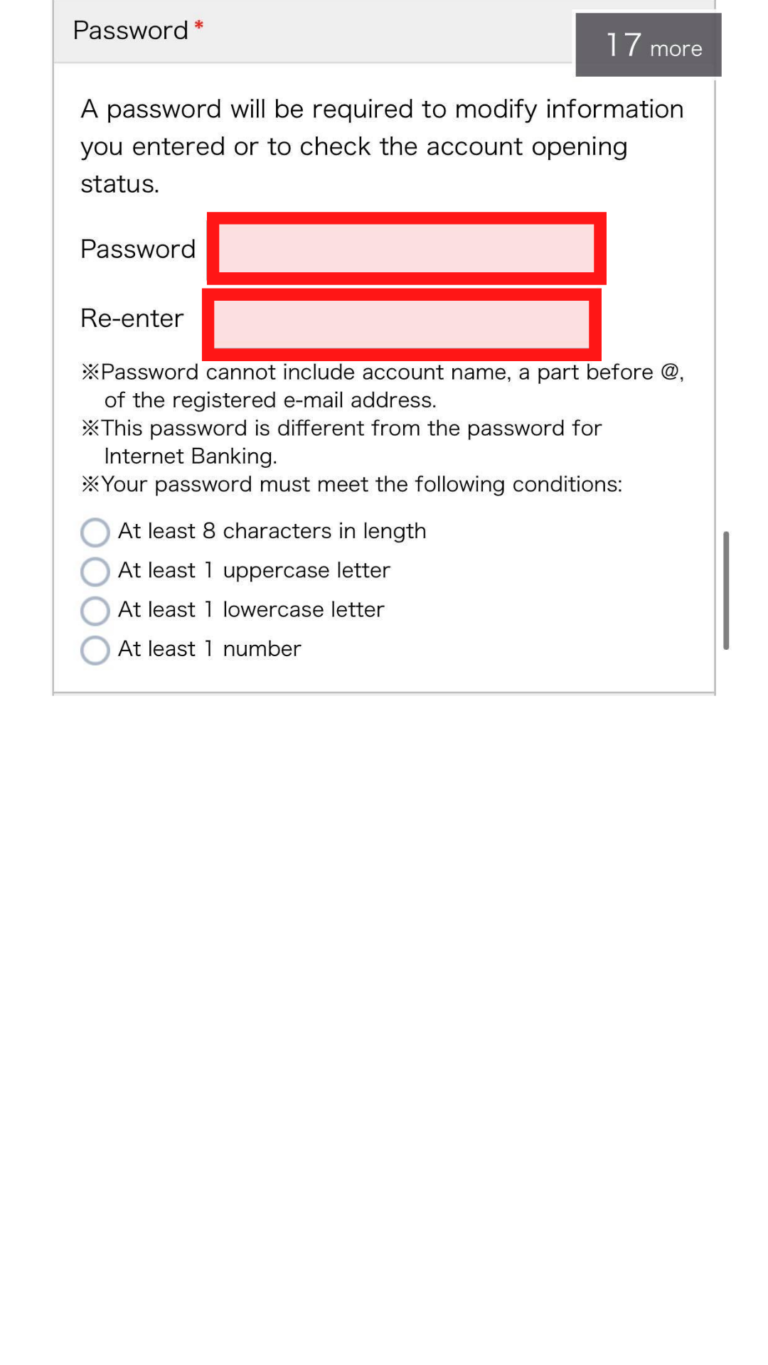
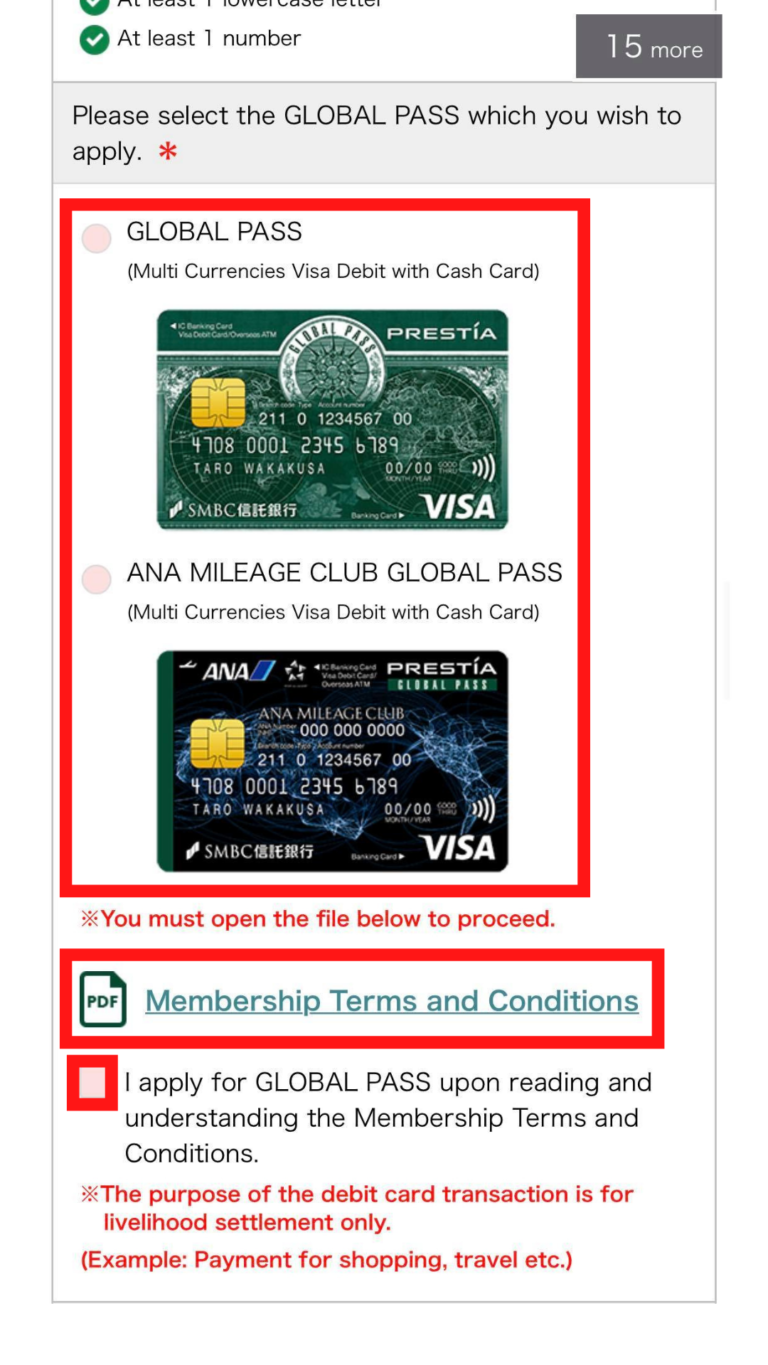
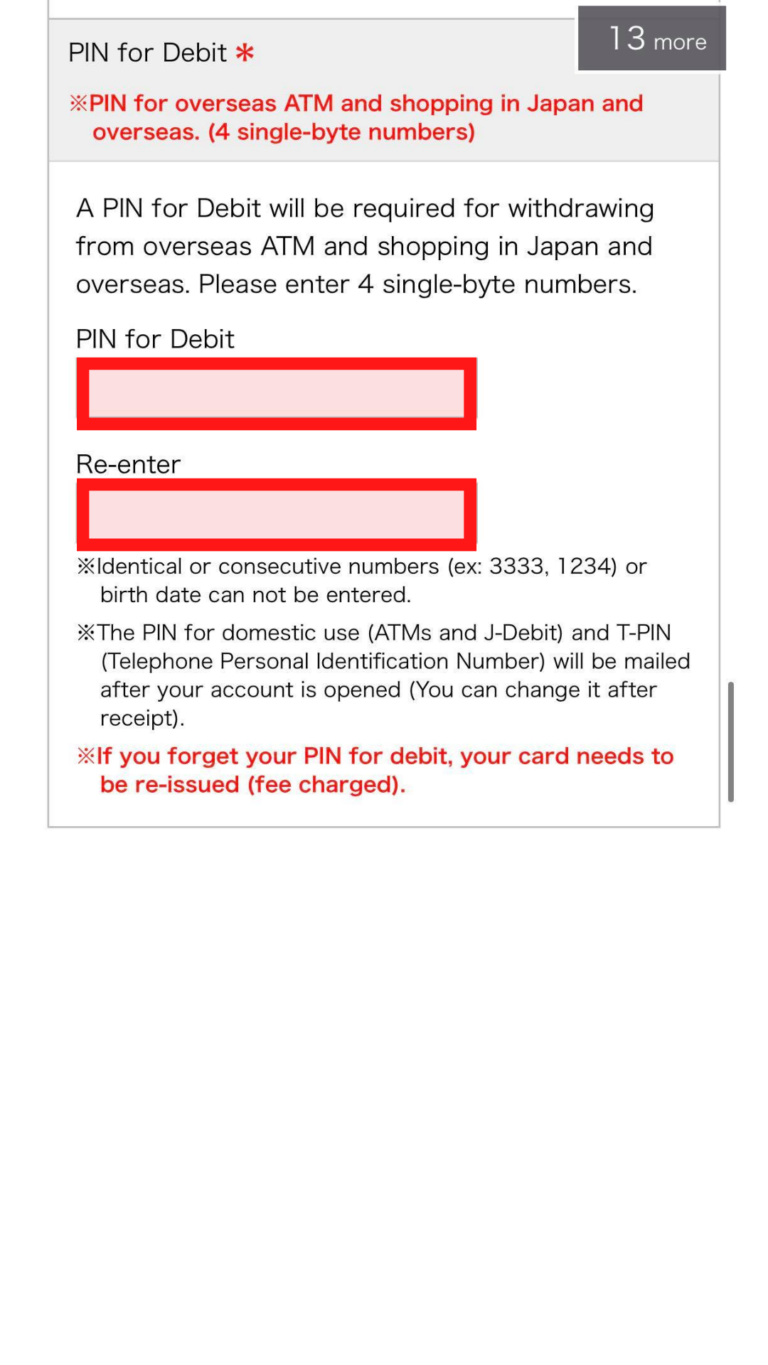
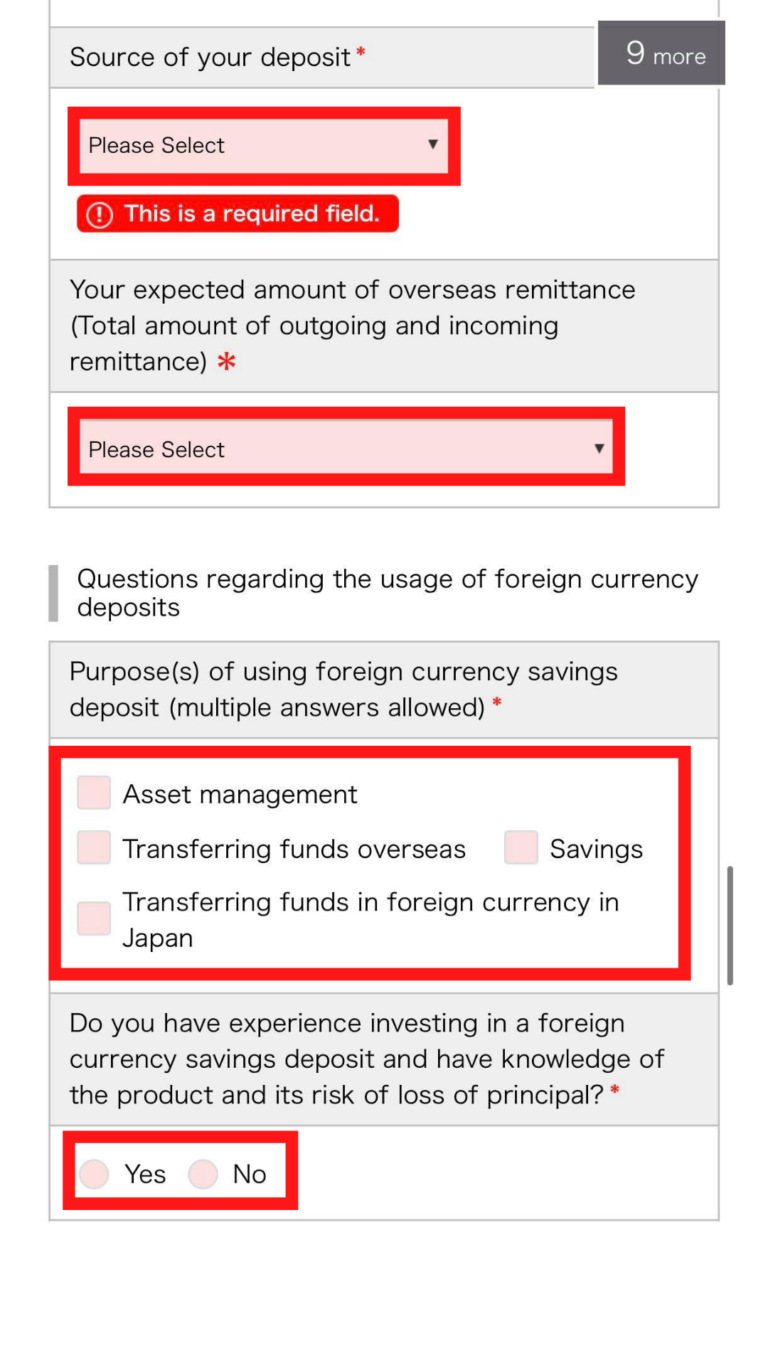
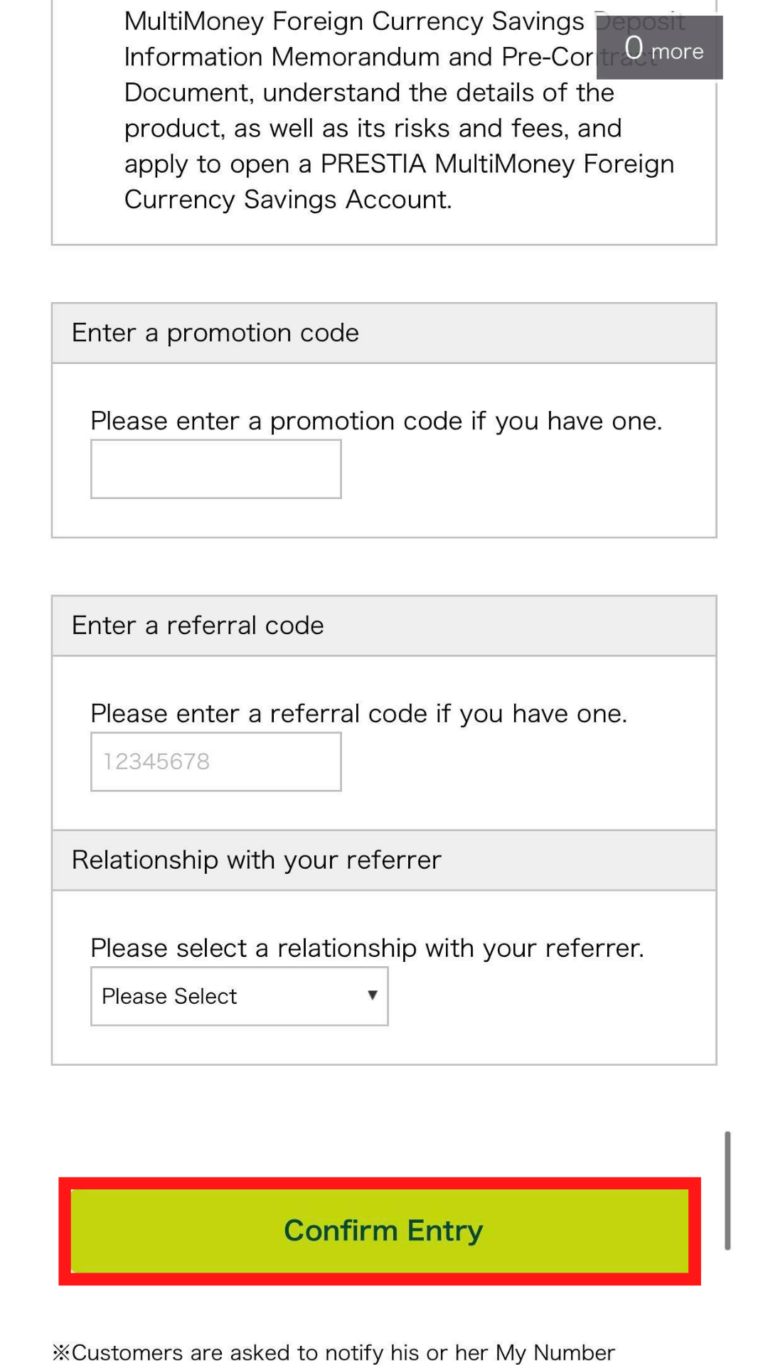
24. Fill in the necessary information in each required box.

25. After all of the information has been inputted, tap on the “Confirm Entry” button.
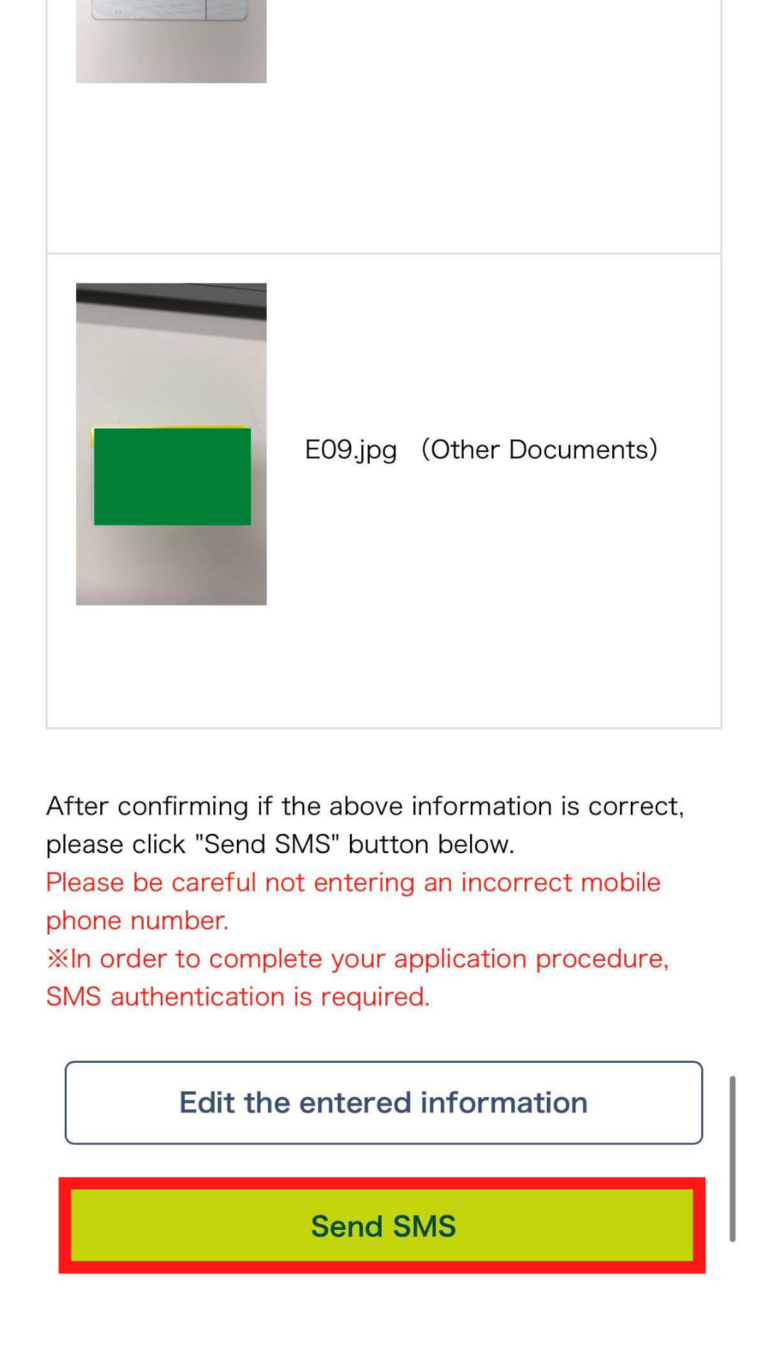
26. Confirm your information and tap on the “Send SMS” button.
27. You will be brought to the SMS authentication page where they’ll notify you about the message they’ll send you to the phone number you entered in the application.
28. Tap on the link that was sent to your phone number.
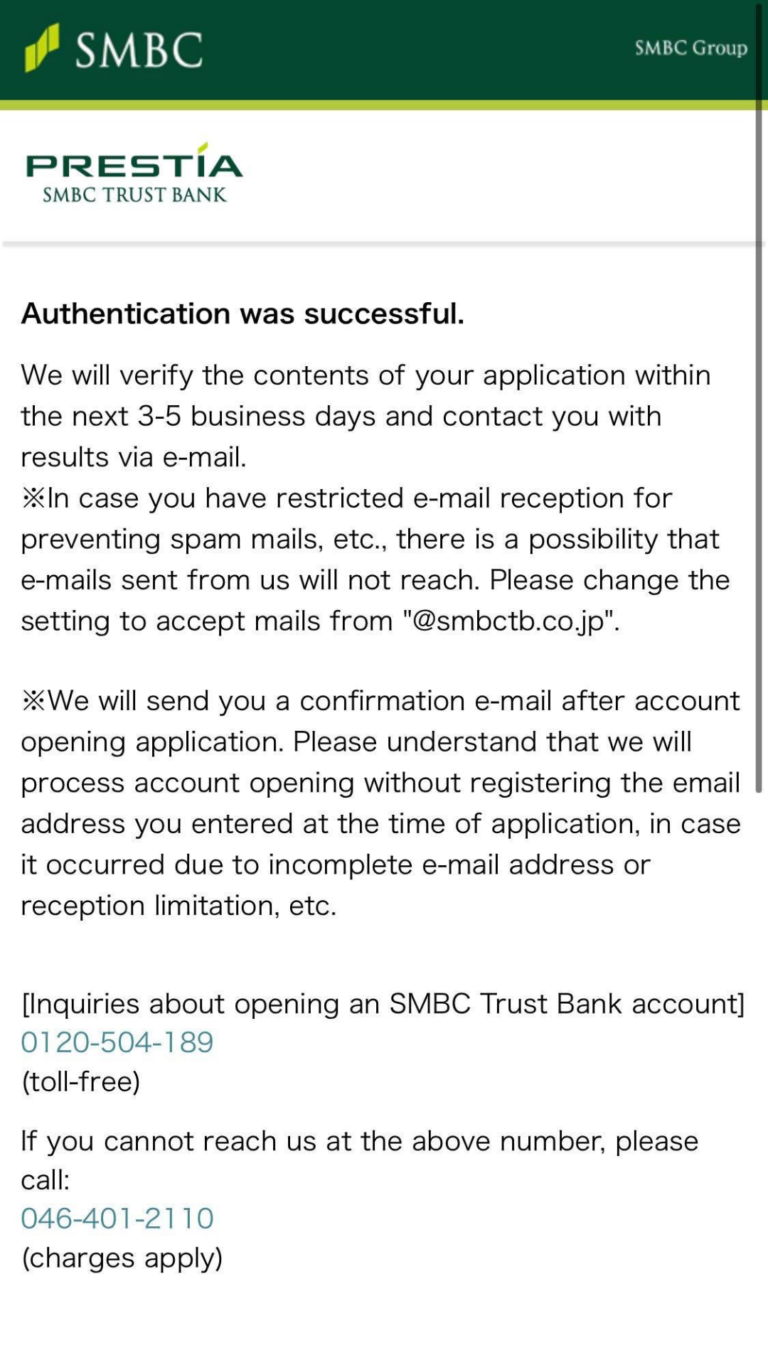
29. Once you’re brought to the success page, you’re done! As it says on the screen, it will take three to five business days for the verification process and email you an update.

Smiles hopes you have a smooth experience applying for an account with SMBC. In addition to the bank providing its services in English, there are other features to enjoy, so please feel free to visit their website.
Related articles: