Steps to register


Steps to create an account
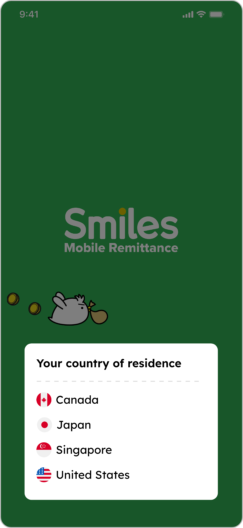
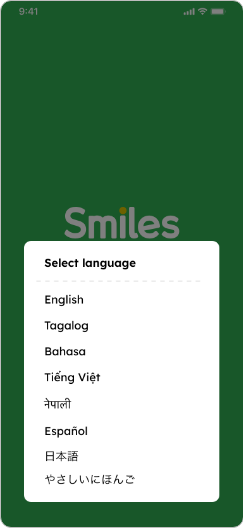
1. Select the country you currently reside in and language
2. Swipe left to see the app’s features or tap “Skip” to move forward

3. Tap “OK” to receive notifications from the app


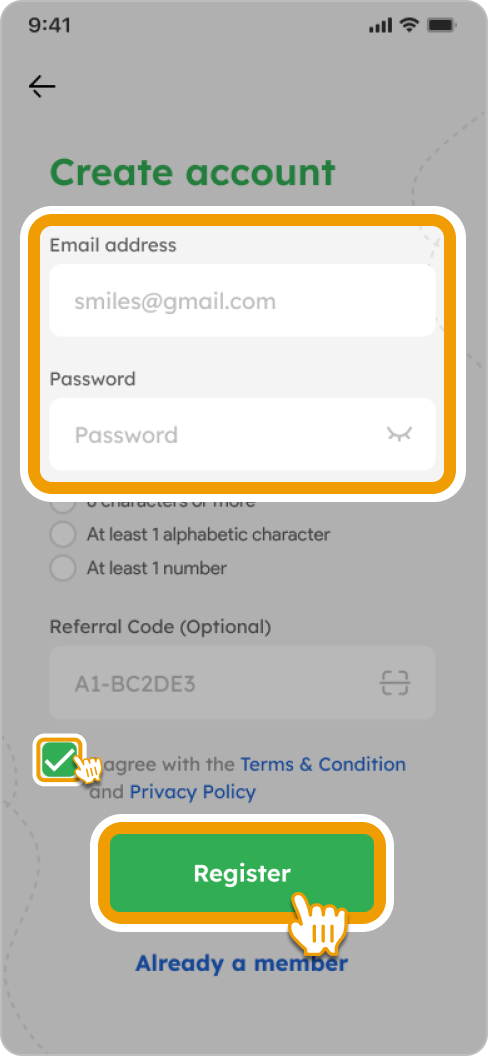
4. Tap “Create account” and “First time”


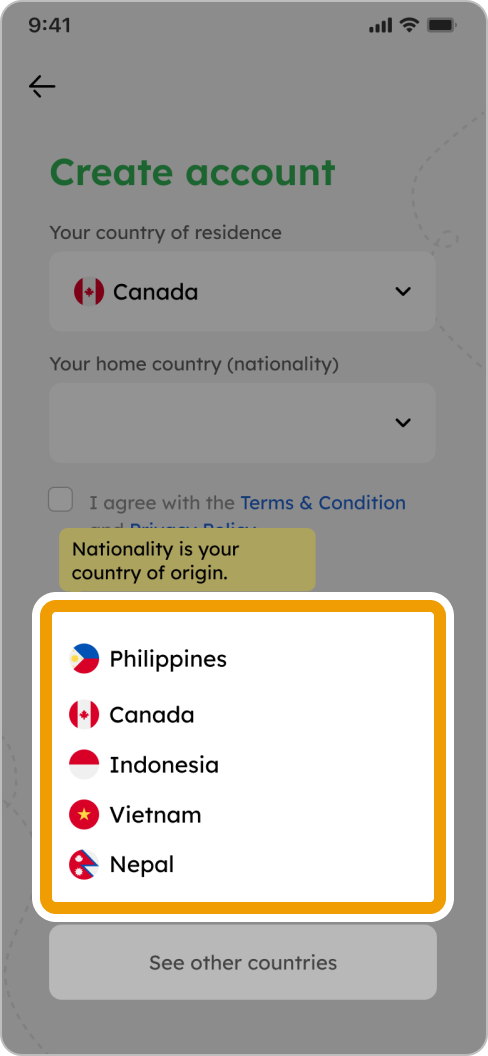
5. Choose your nationality
6. Input your email address and create a password. Tap on box to check off that you agree and proceed by tapping “Register”
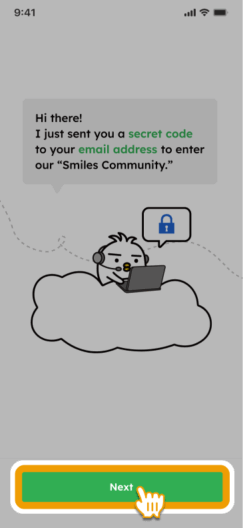
7. Tap “Next” and input secret code sent to your email

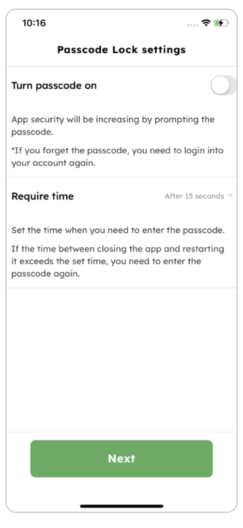
8. You now have a Smiles account! You can optionally set up a passcode for added security.

I couldn’t complete my registration
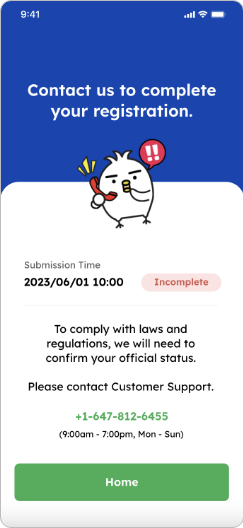
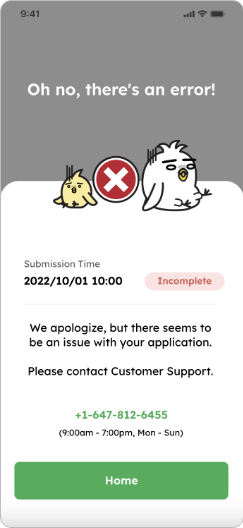
If one of these screens appear, please contact our customer service
+1-647-812-6455
(9:00 a.m. – 7:00 p.m. Mon-Sun)
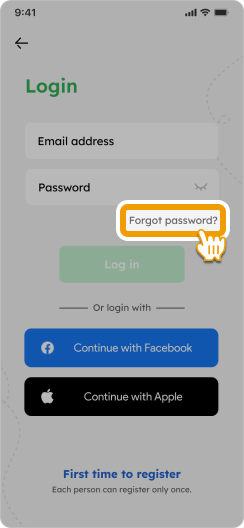
Recover your Smiles password
1. On your Smiles app, tap “Forgot password?”
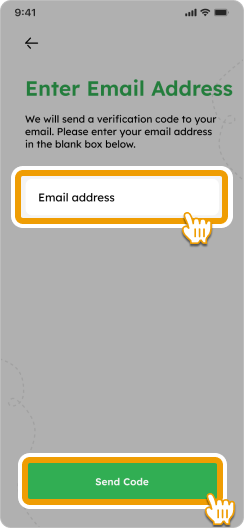
2. Enter your email address and tap “Send Code”
3. Check your email inbox, input the verification code, and tap “Next” to proceed

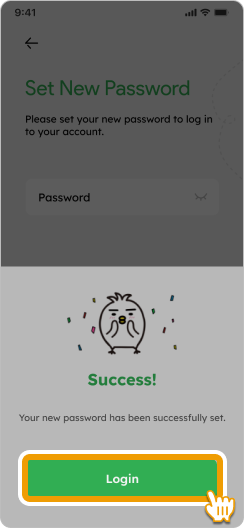
4. Enter your new password and tap “OK”
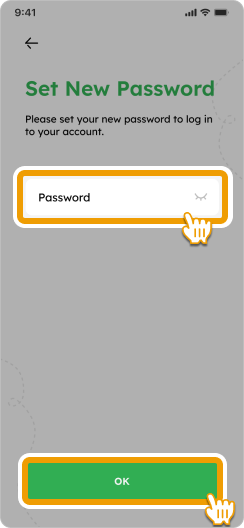
5. Your new password has been successfully set! Tap “Login” to access your Smiles account with your updated login information