First time using Smiles


Step 1
How to create a Smiles account
1. Select the country you currently reside in and language


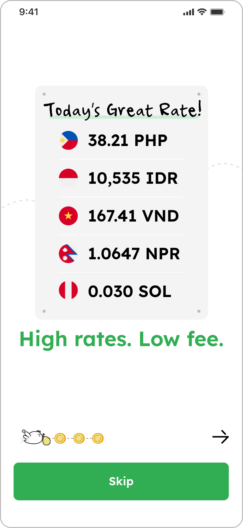
2. Swipe left to see the app’s features or tap “Skip” to move forward
3. Tap “OK” to receive notifications from the app


4. Tap “Transfer Sendy account” and “Proceed”


5. Enter your email address and create a password. Tap on the box to check off that you agree and “OK” to proceed

6. Tap the blue triangle and input secret code sent to your email


7. You now have a Smiles account!

Step 2
Enter registered information on Sendy
1. Check the items that you’re about to transfer from Sendy

2. Check the “I agree with the Terms of Money Transfer and Migration” box and tap “Next”

3. Input your Sendy email address and date of birth. Check the box and tap “Send code”

4. Enter the verification code we’ve sent to your email address and tap “Next”

5. After confirming your profile, contact information, and Sendy account, tap “Transfer account”

6. Your application has been received! Please wait for approval (no need to apply again). *The migration may take a few hours to approve

For current
Smiles users
1. Tap on the “Transfer account to Smiles” banner displayed on your Smiles home screen

2. Tap “Proceed” to start the account migration

3. Check the “I agree with the Terms of Migration” box and tap “Next”

4. Input your Sendy email address and date of birth. Check the box and tap “Send code”
5. Enter the verification code we’ve sent to your email address
6. Confirm your account balance to be transferred and tap “Transfer account”

7. Your application has been received! Please wait for approval (no need to apply again). *The migration may take a few hours to approve